
Given that I’m doing a bag making tutorial once a month, I thought I’d also listen to my quilt making readers and give them a tutorial too.
What Are Half Square Triangles?
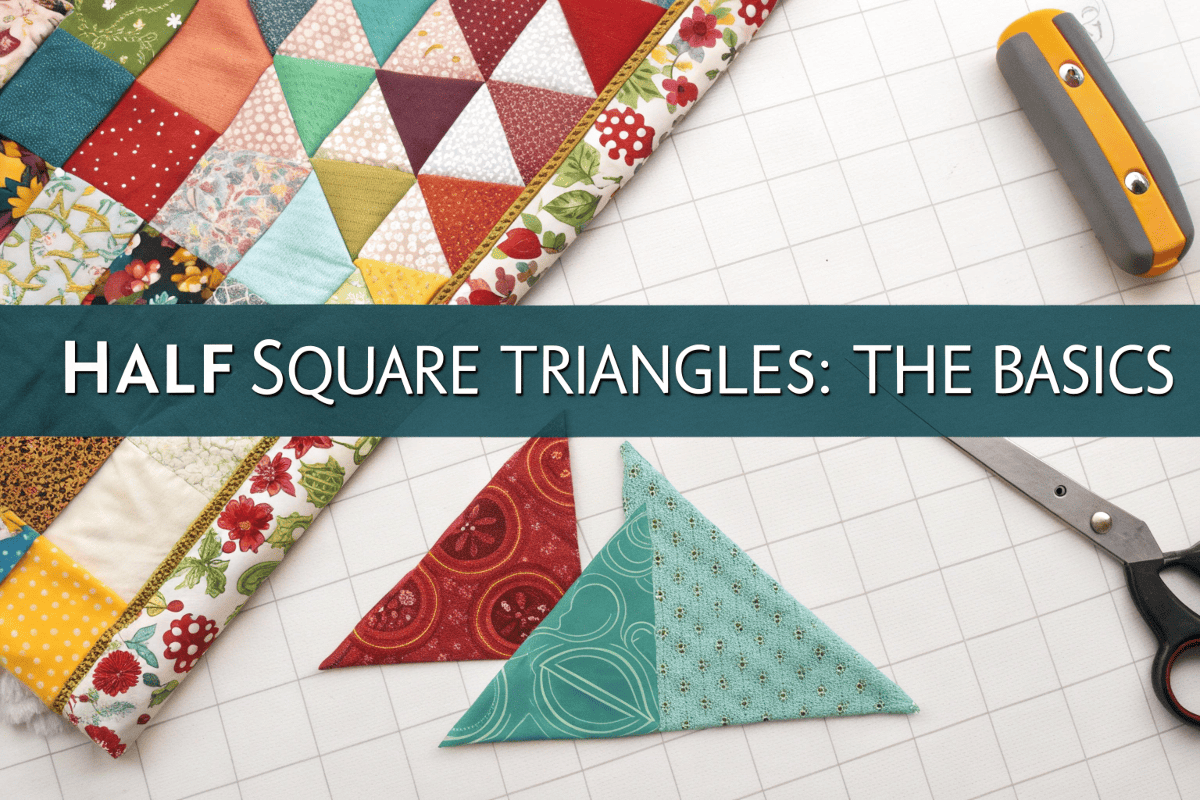
Half Square Triangles (HSTs) are fundamental quilt blocks consisting of two right triangles sewn together along their hypotenuse to form a perfect square. Each HST contains two contrasting fabrics that meet along a diagonal seam, creating a simple yet powerful design element that forms the backbone of both traditional and modern quilting.
These essential building blocks are the DNA of quilt design – I’ve taught countless students to create HSTs as their first “complex” quilt block because they introduce crucial concepts like accurate seaming, pressing techniques, and precise measurements. From simple two-color arrangements to complex medallion quilts, HSTs adapt to any design aesthetic while teaching fundamental piecing skills that serve quilters throughout their creative journey.
Understanding HST Measurements
The key to successful HSTs lies in understanding the mathematical relationship between your starting fabric squares and your desired finished block size. The golden rule I’ve developed through years of teaching is surprisingly simple: to create a finished HST of any size, cut your starting squares 7/8″ larger than your desired finished measurement.
For example, if you want a 4″ finished HST, cut your starting squares at 4-7/8″. This extra fabric accounts for seam allowances and provides trimming room for perfect accuracy. I always emphasize this calculation to my students because getting measurements right from the start prevents frustration and fabric waste later in the process.
Finished vs. Unfinished Measurements
Understanding the difference between finished and unfinished measurements was my biggest stumbling block when I started quilting, and it’s the concept that confuses most of my new students. The unfinished measurement is the size of your block before it’s sewn into the quilt, while the finished measurement is what you’ll see once the block is incorporated into your quilt top.
An HST that measures 4.5″ unfinished becomes 4″ finished once the 1/4″ seam allowances are sewn on all sides. This distinction is crucial for calculating fabric requirements and ensuring your blocks fit together perfectly in your final quilt design.
Working with Precut Charm Squares for HSTs
Five-inch charm squares are perfect for creating HSTs and offer an excellent way to work with coordinated fabric collections. When using standard 5″ x 5″ charm squares, you’ll create HSTs that measure 4.5″ unfinished (4″ finished) – ideal for many quilt patterns.
A standard 42-piece charm pack yields 84 HSTs using the 2-at-a-time method, providing enough units for a generous lap quilt or several smaller projects. I frequently use charm packs in my classes because they eliminate cutting time and naturally create the scrappy, coordinated look that makes HST quilts so appealing.
The Basic 2-at-a-Time HST Method
The 2-at-a-time method is my go-to technique for teaching beginners because it balances efficiency with accuracy. This traditional approach creates two identical HSTs from two fabric squares and provides excellent control over the process, making it perfect for learning proper seaming and pressing techniques.
I recommend this method for all my beginning students because it builds confidence while teaching essential skills. Each step is visible and manageable, allowing you to focus on accuracy rather than speed. Once you master this technique, you’ll have the foundation for understanding all other HST methods.
This method also works beautifully for scrap quilts where you want to pair specific fabrics together, giving you complete control over color placement and combinations.
Step-by-Step Instructions
Start with two fabric squares cut 7/8″ larger than your desired finished HST size. Place the squares right sides together, ensuring edges align perfectly.
- Mark the diagonal: Using a fabric-safe marker, draw a diagonal line from corner to corner on the lighter fabric square
- Pin for stability: Place one pin on each side of the marked line to prevent shifting during sewing
- Sew the seams: Stitch 1/4″ away from the marked line on both sides, creating two parallel seam lines
- Cut along the marked line: Use a rotary cutter to cut directly on the drawn diagonal line
- Press the seams: Open each triangle pair and press seams according to your project requirements
- Trim to size: Square up each HST to your desired unfinished measurement using a quilting ruler
The key to success lies in maintaining consistent 1/4″ seam allowances and taking time to press properly before trimming.
Alternative HST Techniques
Once you’ve mastered the basic 2-at-a-time method, these advanced techniques dramatically increase your efficiency for larger projects. I use different methods depending on my project’s requirements – the 4-at-a-time for medium-sized projects and the Magic 8 method when I need many identical HSTs quickly.
Each method has its place in my quilting toolkit, and I choose based on the number of HSTs needed and the level of precision required for the specific project.
4-at-a-Time Method
This efficient technique creates four HSTs from two larger fabric squares, making it perfect for projects requiring multiple identical units. Cut your starting squares 1-1/4″ larger than your desired finished HST size.
- Layer and mark: Place squares right sides together and draw diagonal lines in both directions, creating an X pattern
- Stitch around the perimeter: Sew 1/4″ seam allowance around all four edges of the square
- Cut along marked lines: Make the first cut along one diagonal, then cut along the second diagonal
- Press and trim: Open each unit, press seams, and trim to your desired unfinished size
This method works exceptionally well when you need HSTs in the same fabric combination for border treatments or repeated design elements.
8-at-a-Time Method (Magic 8 Method)
The Magic 8 method is my favorite for mass-producing HSTs in two fabric combinations. Start with squares cut 1-1/2″ larger than your desired finished HST size – this method requires more trimming but offers incredible efficiency.
- Create the grid: Layer squares right sides together and mark a 2×2 grid, creating four smaller squares
- Draw diagonals: Mark diagonal lines through each small square in the same direction
- Stitch the grid: Sew 1/4″ on both sides of each diagonal line
- Cut the grid: Cut along all marked grid lines and diagonal lines
- Press and trim: Open all eight units, press consistently, and trim to size
I use this method for scrap quilts and projects where I need numerous HSTs in specific color combinations, such as sampler quilts or charity projects.
Perfecting Your HSTs
Achieving consistent, accurate HSTs requires attention to detail in every step of the process. My journey toward precision involved learning from countless imperfect blocks – each mistake taught me something valuable about technique refinement.
The difference between good and great HSTs lies in three critical areas: accurate cutting, consistent seaming, and proper pressing. Master these fundamentals, and your HSTs will have sharp points, flat seams, and perfect measurements every time.
Pressing Techniques for HSTs
Proper pressing transforms mediocre HSTs into professional-quality blocks. I’ve evolved my pressing technique over years of making thousands of HSTs, and I now follow a specific sequence that ensures flat, accurate units.
First, “set the seam” by pressing the sewn unit exactly as it came from the machine – this helps the thread settle into the fabric fibers. Then, open the unit and press the seam allowance toward the darker fabric to prevent show-through, using the tip of your iron to create a sharp crease along the diagonal seam.
For quilts where seam intersections are critical, I sometimes press seams open to reduce bulk, though this requires extra care to prevent seam allowances from flipping during construction.
You may also be interested in the article How to get blood out of jeans.
Trimming and Squaring Up
Trimming HSTs to the correct size is non-negotiable for professional results, even though many quilters try to skip this step. I’ve learned through experience that taking time to trim properly saves hours of frustration during quilt assembly.
- Position the HST: Place your pressed HST on the cutting mat with the diagonal seam running from lower left to upper right
- Align the ruler: Position your square ruler so the diagonal line on the ruler matches your seam line
- Check measurements: Ensure your HST extends beyond the desired measurement marks on all sides
- Trim two sides: Cut along the right and top edges of the ruler
- Rotate and trim: Turn the HST 180 degrees and trim the remaining two sides to your exact measurement
- Verify the diagonal: Confirm your diagonal seam runs exactly from corner to corner
This process ensures every HST is perfectly square with sharp points and accurate measurements.
Specialty Tools for HST Trimming
While standard quilting rulers work perfectly well for trimming HSTs, several specialty tools can speed the process and improve accuracy. I’ve tested numerous options in my studio and found specific tools that genuinely make a difference.
The Quilt in a Day Square Up Ruler features diagonal lines that align perfectly with HST seams, making positioning quick and accurate. The Bloc Loc ruler system uses interlocking pieces that hold your HST in place while trimming, virtually eliminating measurement errors.
However, I always tell my students that these tools are investments for quilters who make many HSTs regularly. For occasional use, a high-quality square ruler with clear diagonal markings serves just as well and costs significantly less.
Design Possibilities with HSTs
The creative potential of HSTs extends far beyond simple two-color blocks. In my own quilting portfolio, I’ve used HSTs to create everything from subtle gradient effects to bold geometric patterns, and I’m continually amazed by my students’ innovative approaches to these versatile units.
Different arrangements of identical HSTs create completely different visual effects – rotating the same units can produce pinwheels, flying geese, or complex secondary patterns. Color placement becomes the primary design tool, with strategic positioning of light and dark fabrics creating movement, depth, and focal points throughout your quilt.
I’ve seen students create stunning modern quilts using only white and single-color HSTs, while others combine scrappy HSTs with solid blocks for controlled randomness that feels both planned and spontaneous.
HST Layout Variations and Examples
One of my favorite teaching projects involves giving students identical sets of HSTs and challenging them to create different layouts. The results always surprise me – the same 16 HSTs can become a traditional pinwheel, a modern asymmetrical design, or an optical illusion pattern depending on arrangement and rotation.
The classic pinwheel arrangement places four HSTs with their light corners meeting at the center, creating a spinning effect that’s perfect for children’s quilts or traditional designs. Flying geese arrangements use HSTs as background elements, creating the illusion of triangular “geese” flying across the quilt surface.
For modern quilts, I often use HSTs in gradient arrangements, carefully selecting fabrics that transition from light to dark across the quilt surface. This technique creates subtle color shifts that add sophistication to simple geometric layouts.
Troubleshooting Common HST Problems
Every quilter encounters HST challenges, and I’ve seen the same issues repeatedly in my classes. The most common problems stem from inaccurate cutting, inconsistent seaming, or skipped pressing steps – all easily prevented with attention to detail.
Problem: HSTs are the wrong size after trimming Solution: Check your original cutting measurements and seam allowance accuracy – most size issues trace back to these fundamentals.
Problem: Points are cut off or don’t meet at corners Solution: Ensure your diagonal seam runs exactly from corner to corner before trimming, and verify your 1/4″ seam allowances are consistent.
Problem: HSTs have puckers or waves Solution: Press seams properly and avoid stretching bias edges during handling – these units are delicate until stabilized by adjacent seams.
Problem: Colors show through from the back Solution: Always press seam allowances toward darker fabrics, or consider pressing seams open for high-contrast combinations.
You may also be interested in the article questions for family dinner.
Recommended Tools and Supplies
After years of HST creation, certain tools have proven indispensable in my studio. A sharp rotary cutter with a fresh blade ensures clean cuts through multiple fabric layers, while a high-quality cutting mat provides the stable surface necessary for accuracy.
An acrylic quilting ruler with clear measurement markings is essential – I prefer rulers with 1/8″ increments and diagonal lines for precise HST work. A reliable fabric marker that disappears with heat or water saves time compared to removable marking techniques.
Most importantly, invest in a good iron with adjustable temperature settings and a stable ironing surface. Proper pressing makes the difference between amateur and professional-looking results.
Fabric Selection for HSTs
Successful HST projects depend heavily on fabric selection, particularly the contrast between your chosen fabrics. I teach my students the “squint test” – step back from your fabric choices and squint to blur the details. If you can’t distinguish between the fabrics when squinting, you need more contrast.
High contrast doesn’t only mean light versus dark – it can also mean busy prints versus solids, warm colors versus cool colors, or large-scale prints versus small-scale prints. The key is ensuring your HSTs will read clearly from a distance and contribute to your overall design rather than disappearing into visual confusion.
For beginners, I recommend starting with one solid or near-solid fabric paired with a medium-scale print in a contrasting value. This combination guarantees success while you develop your color confidence.
HSTs for Charitable Quilting Projects
HSTs excel in charitable quilting because they’re quick to create, use manageable fabric pieces, and work beautifully in group settings. I’ve organized numerous charity quilting events using HST patterns because they accommodate quilters of all skill levels working together.
Simple HST patterns like basic pinwheels or straight-set layouts create beautiful donation quilts without requiring complex planning or advanced techniques. These projects also provide excellent ways to use fabric scraps and coordinating collections, making them economical for charitable organizations with limited budgets.
My guild regularly creates HST quilts for local shelters and children’s hospitals – the geometric patterns appeal to recipients of all ages, and the straightforward construction means volunteers can contribute regardless of their quilting experience level.
Conclusion
Mastering Half Square Triangles opens unlimited creative possibilities in your quilting journey. These fundamental building blocks teach essential skills while providing the foundation for countless traditional and modern quilt designs. Start with simple projects to build confidence, focus on accuracy over speed, and remember that every expert quilter once struggled with their first HST.
The techniques you’ve learned here will serve you throughout your quilting journey, from simple scrap quilts to complex medallion designs. I encourage you to practice these methods, experiment with different fabric combinations, and most importantly, enjoy the process of creating something beautiful with your own hands.
FAQ
- 2-at-a-time: creates two HSTs — ideal for beginners and small projects.
- 4-at-a-time: produces four HSTs — great for medium projects.
- 8-at-a-time (Magic 8): makes eight matching HSTs — best for large projects needing many units.
Proper fabric preparation is the basis of high-quality patchwork. I always wash the fabric before starting work to avoid deformation after completing the quilt. Find out why prewashing is an essential step: Turn Prewash Into the Essential Laundry Step You Never Skip.
The accuracy of the seam depends not only on skill, but also on the tools. Sharp scissors, a high-quality ruler, and correct thread tension all affect the result. Check your settings: Thread Tension Guide.
If you are just starting out in patchwork, begin by understanding how many squares you can get from one yard of fabric. This will help you plan your projects without unnecessary expense. For more information, see: How Big Is a Yard of Fabric?.
This article was completely overhauled in October 2025 with new insights, materials, and techniques.


